Facing the Sewing Challenge Head On
A family member comes to me and asks if I would like to make a Messenger bag for a fundraiser. Where do I start? I can sew anything from cotton, canvas, wool, or leather. What would you like, I ask? Leather! He quickly exclaims!
I scoured my current selection of purchased patterns then expeditiously move to the internet. I find, after much searching, a design that would appeal to my family member. The only problem: it wasn’t a messenger bag, it was a small to medium size purse. The second problem: I’d never made the pattern. I had no idea if it would work to increase the size and what would be needed for reinforcement. I sent a picture of the pattern to the family member for approval. He was thrilled with the look and ready for me to proceed.
Now I had to take the pattern and increase it to the size of a messenger bag. After much measuring, math and careful consideration I decide I was ready to move forward with the project and hope my measurements and math were correct.
I looked through my stash and decided I didn’t have anything that would meet the requirements of the pattern. I had half the requirements so it was time to go leather shopping.
After finding the perfect leather it was time to lay out the pattern, cut the pieces and dye them. Half the project called for vegetable tanned leather and the other half chromium leather.
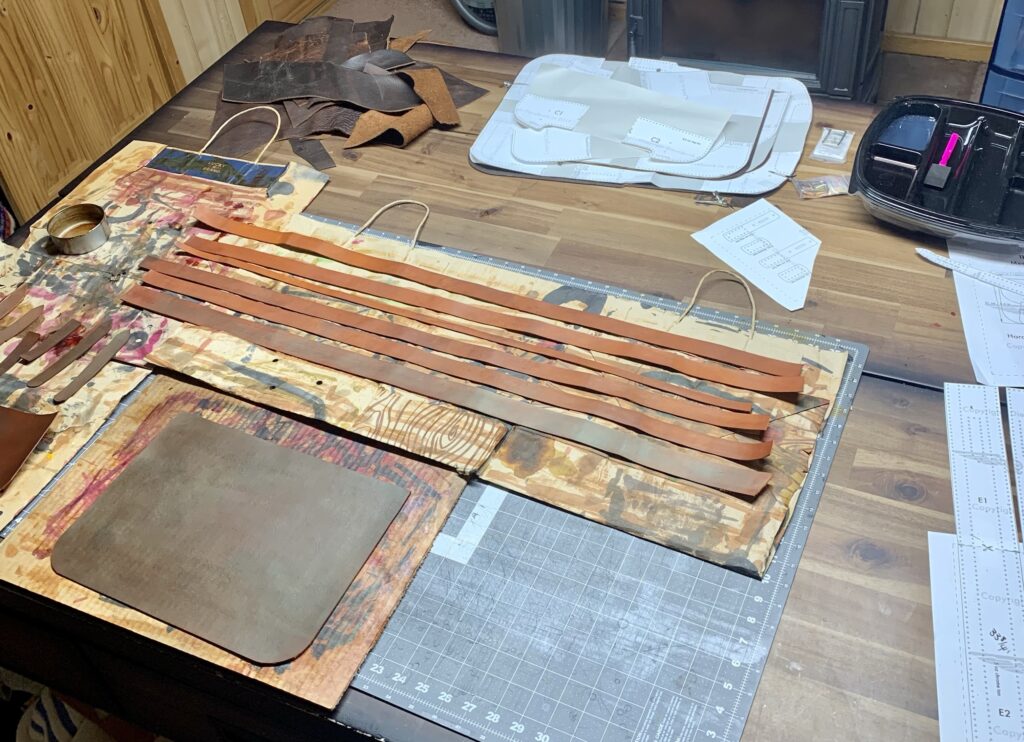
Since I’d never worked with this pattern, I followed the assembly instructions. The pattern called for hand stitching around the bag, but I was planning to use my machine. Typically when a pattern is calling for hand stitching there will be special considerations for the machine sewer. I need to look at the bulk in the seems and determine whether I need to skive the leather down to reduce bulk when sewing and turning.
I had to decide on the color for the stitching. As you may have guessed I took a picture of the leather and sent it off to the client to advise. Since I have a number colors it could be fun to do a decorative contrast color but I defer to the client for direction.
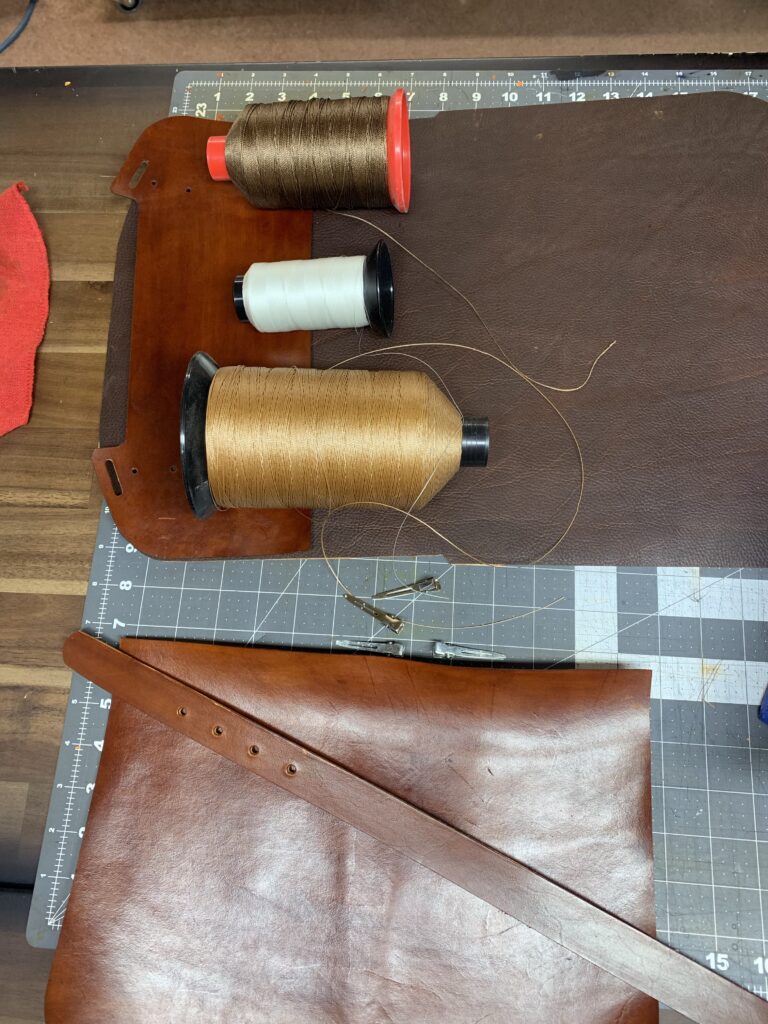
I also added webbing between two layers of leather to reinforce the D ring and strap connection. The sidestrap will hold the most weight and leather stretches So reinforcement is essential in the longevity of the bag.
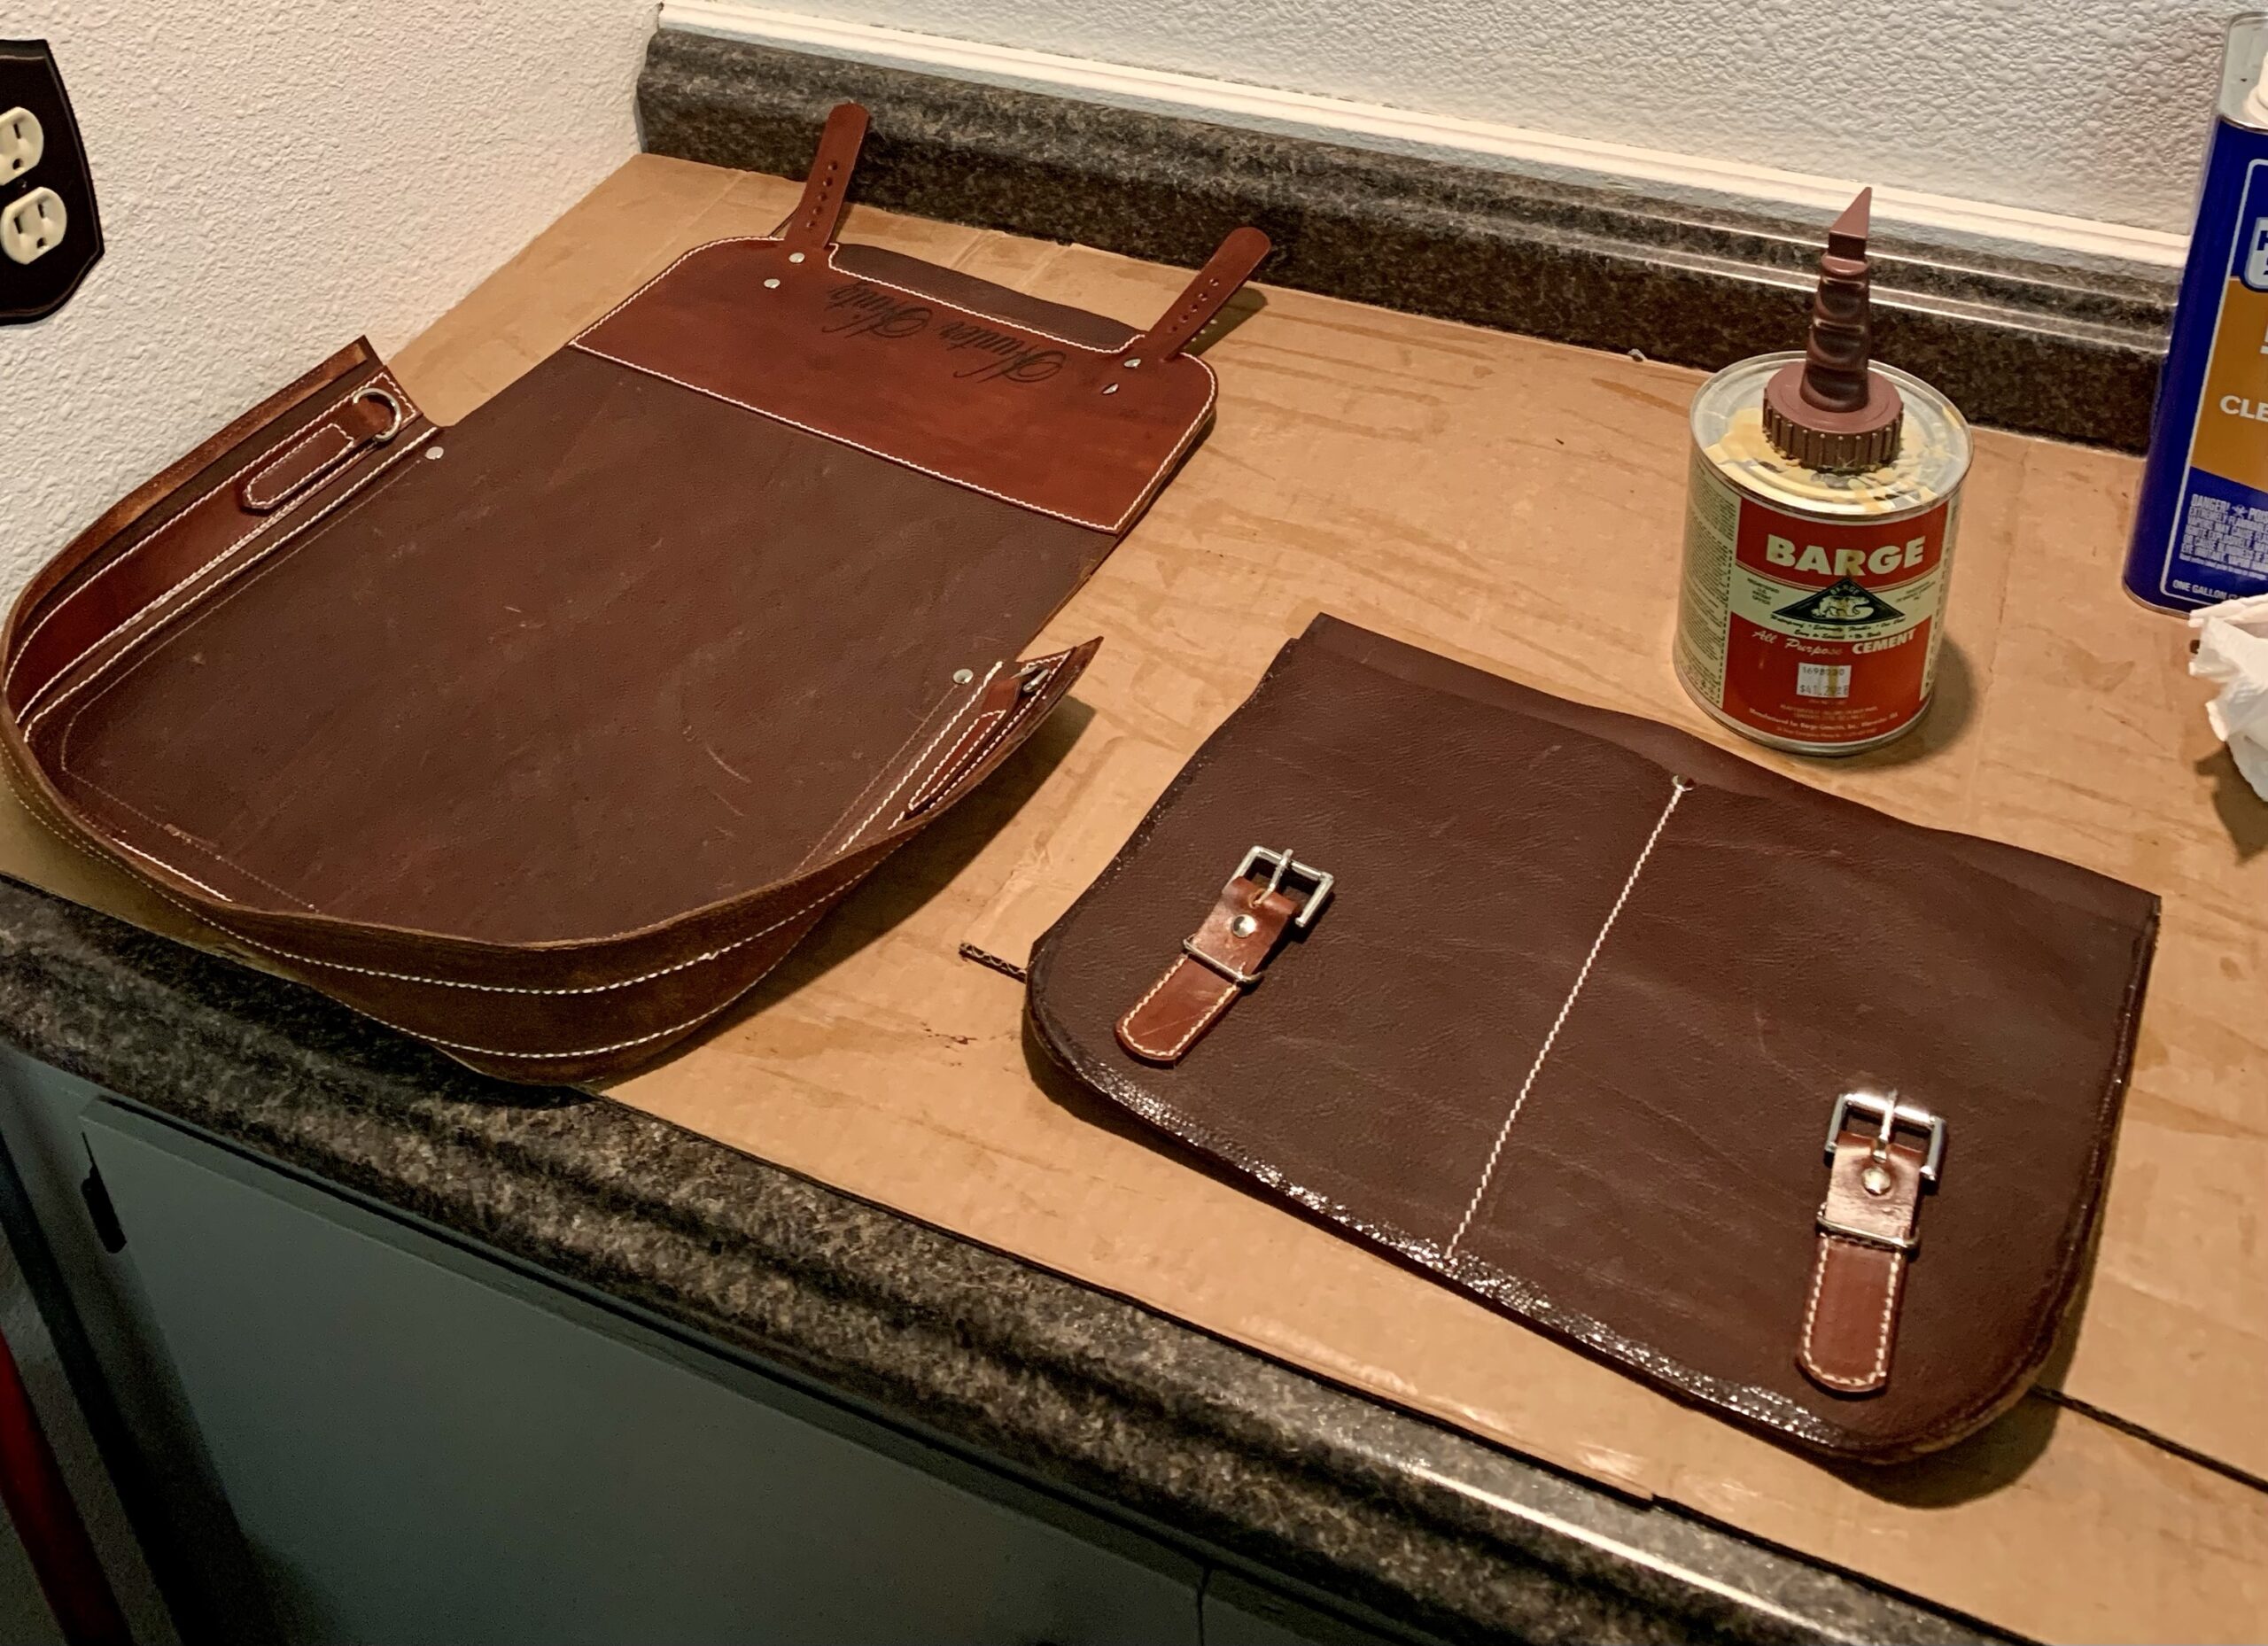
The pattern didn’t call for gluing the edges but in my experience, leather is heavy, books are also heavy and stitching is very effective but adding glue really secured the seams.
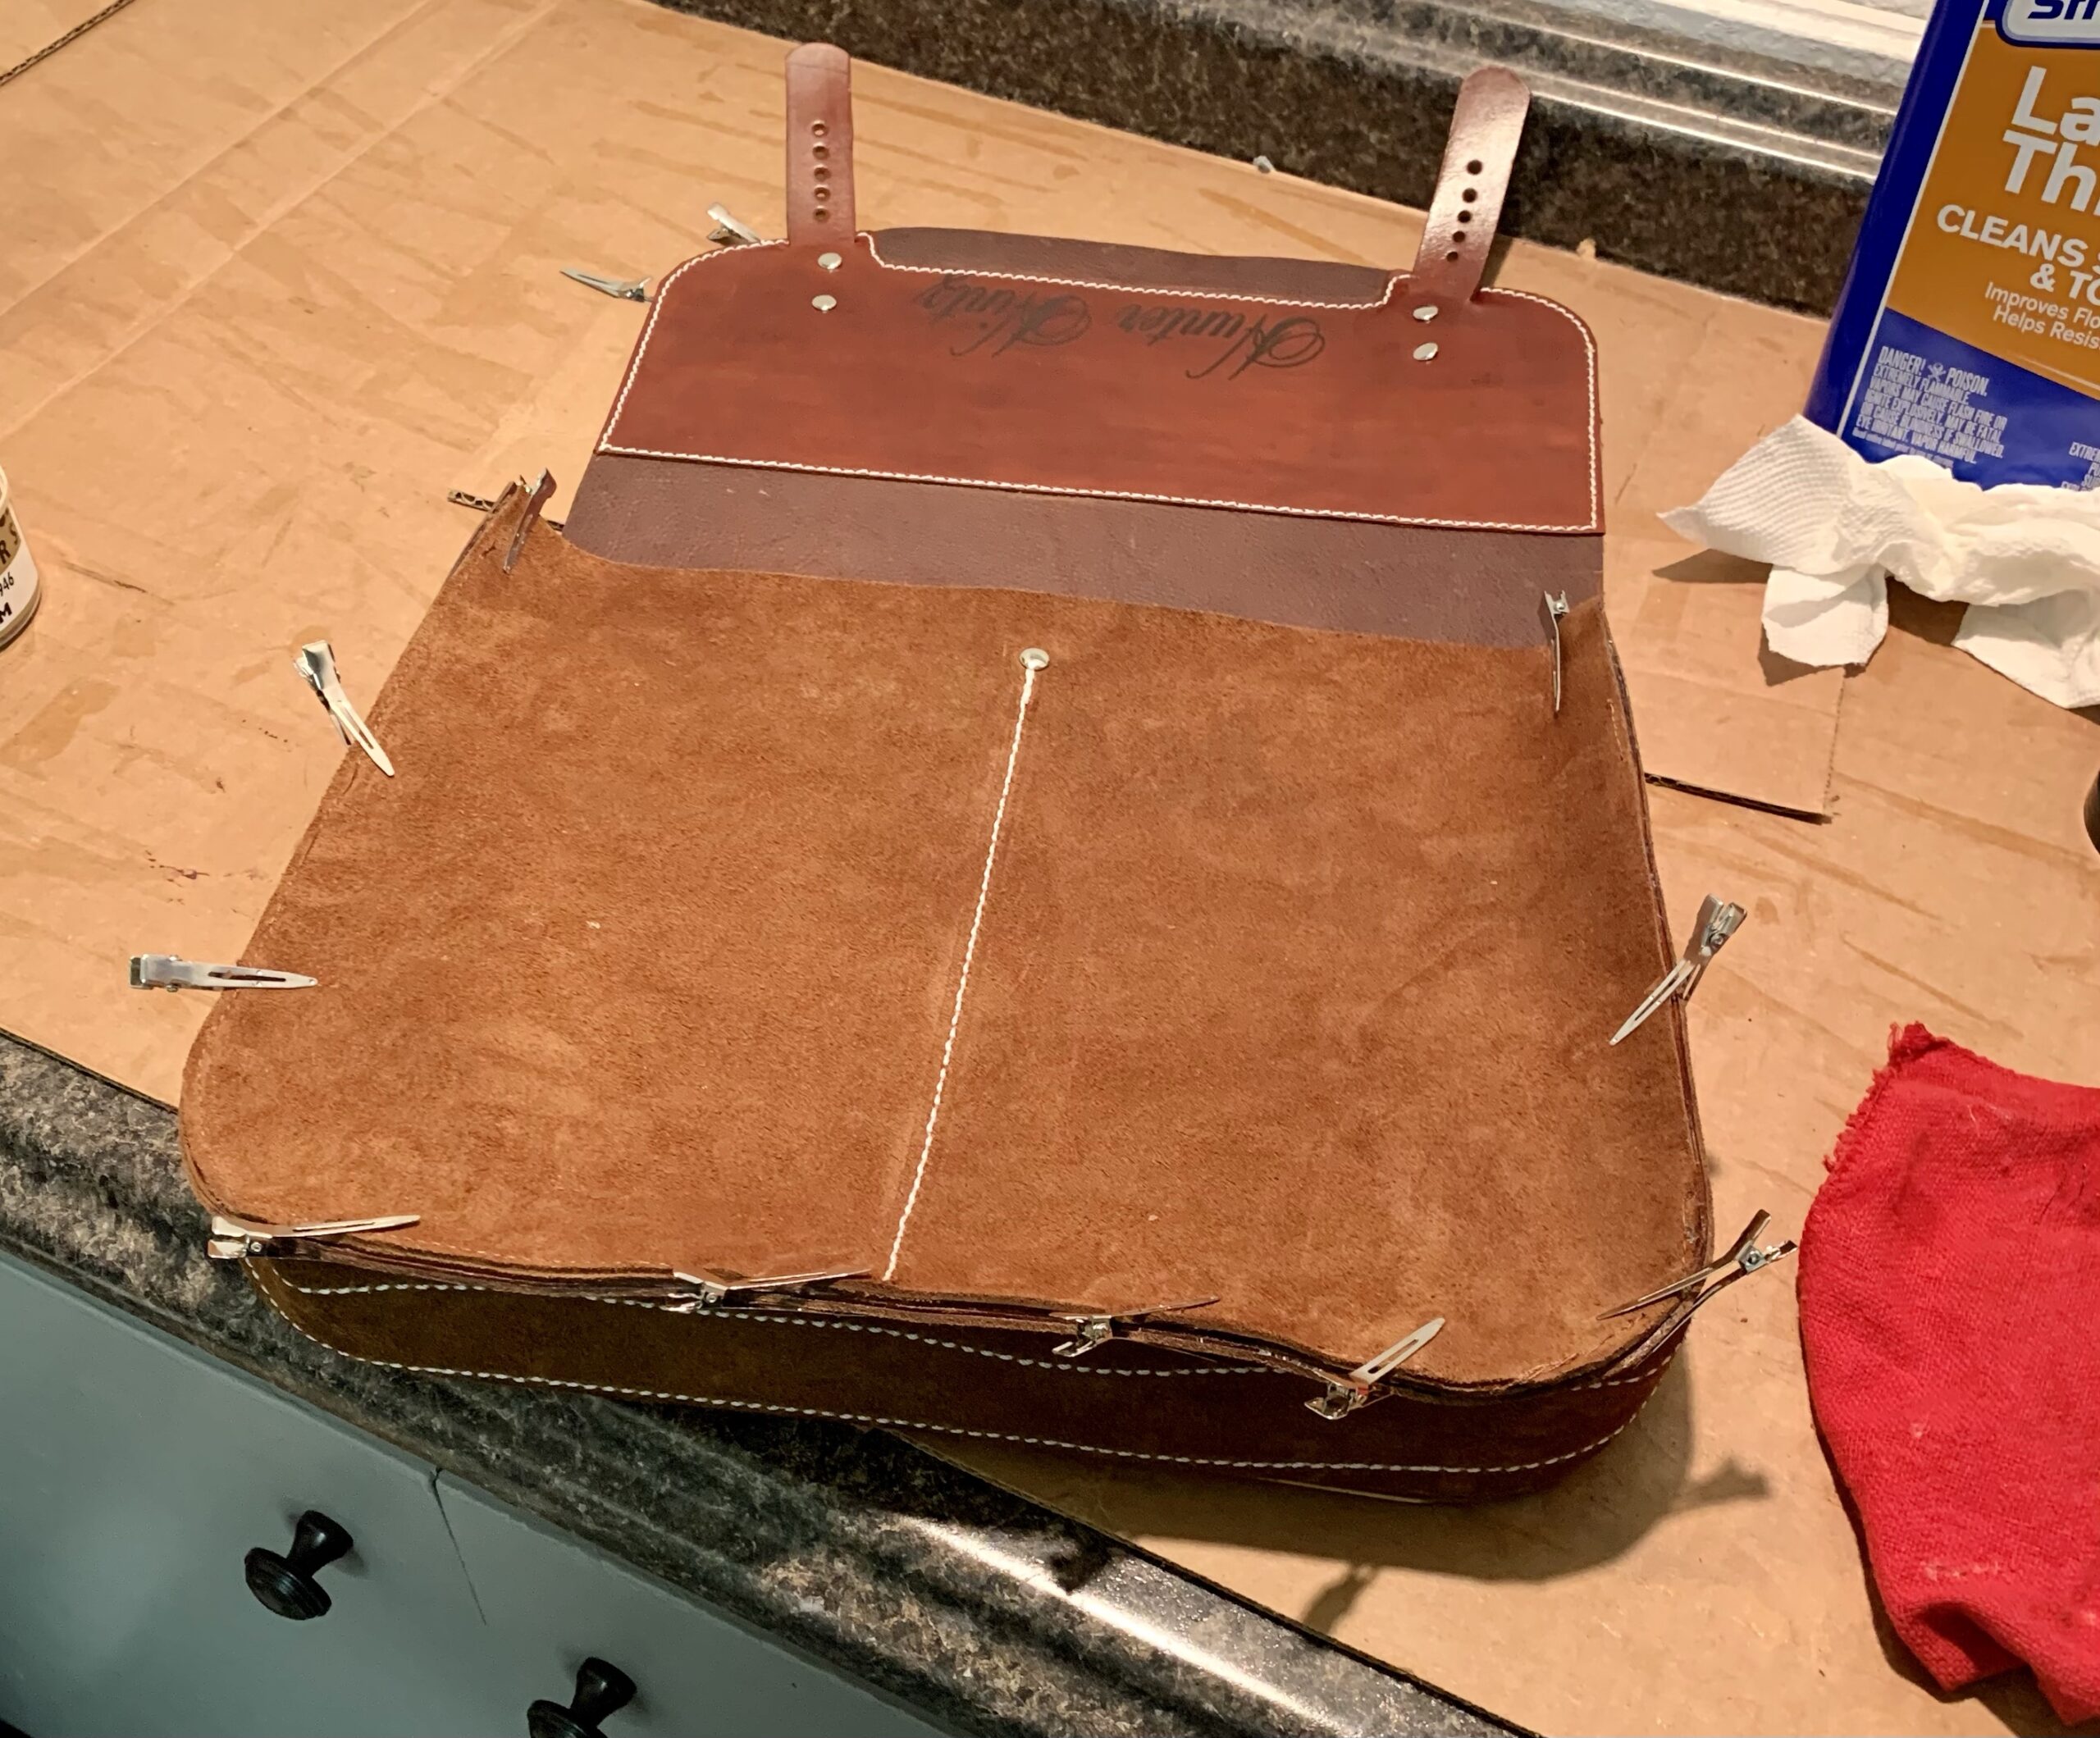
I put glue on both pieces and then wait for it to get tacky and glue the sides together!
Next I take my clips off and stitch the front, pocket, gusset and small decorative band. This is the last row of stitching before I turn the bag. This is very complicated with this pattern and why it calls to hand stitch as you have to stitch many layers with precision. The bag had no room for error or much of a seam allowance. I fought it a bit but managed to figure a way to do it by sewing one way then the other. Note: I used my Janome HD9 to baste the front pocket to front panel and the decorative band to the gusset. This helped tremendously!
Final step after turning the bag is the straps. I Glued two pieces together so the suede side didn’t show. After gluing, I carefully cut less than an 1/8” off both sides for a clean edge. Then I burnished and painted the edges followed by stitching to add to the longevity of the strap.
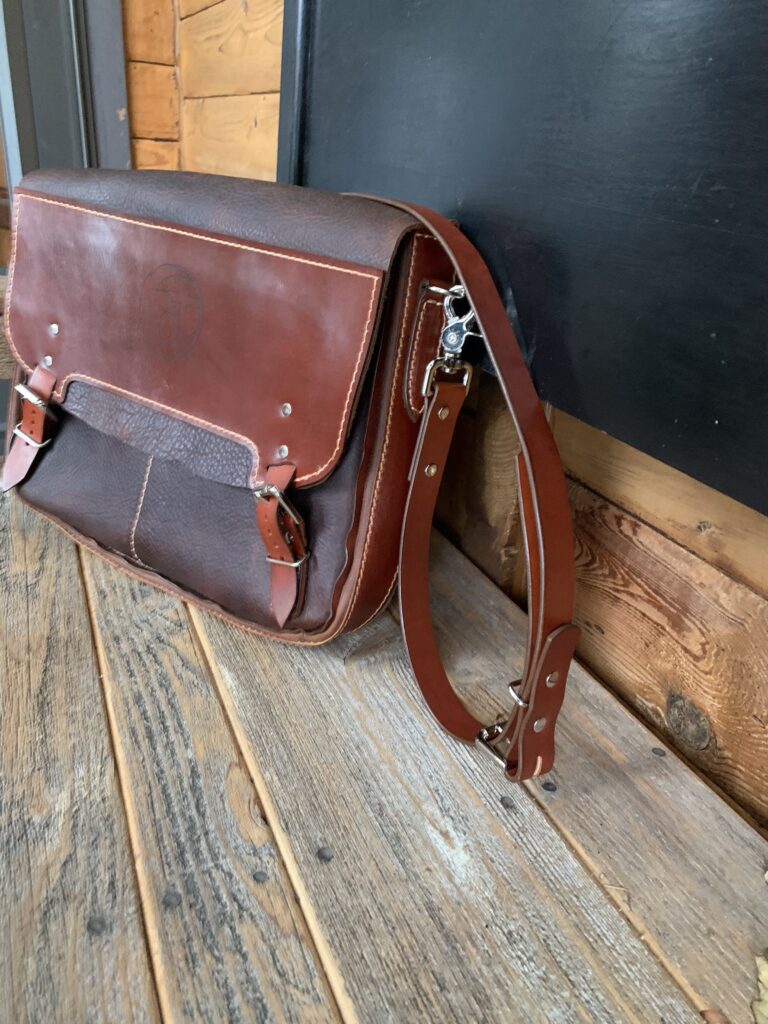
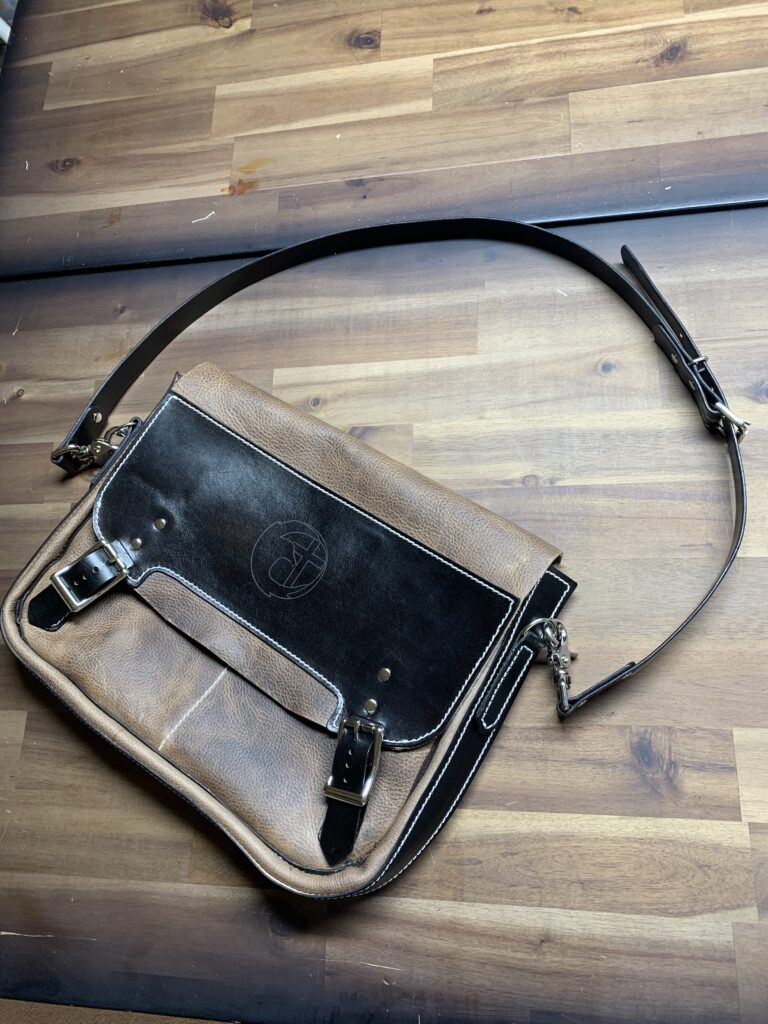
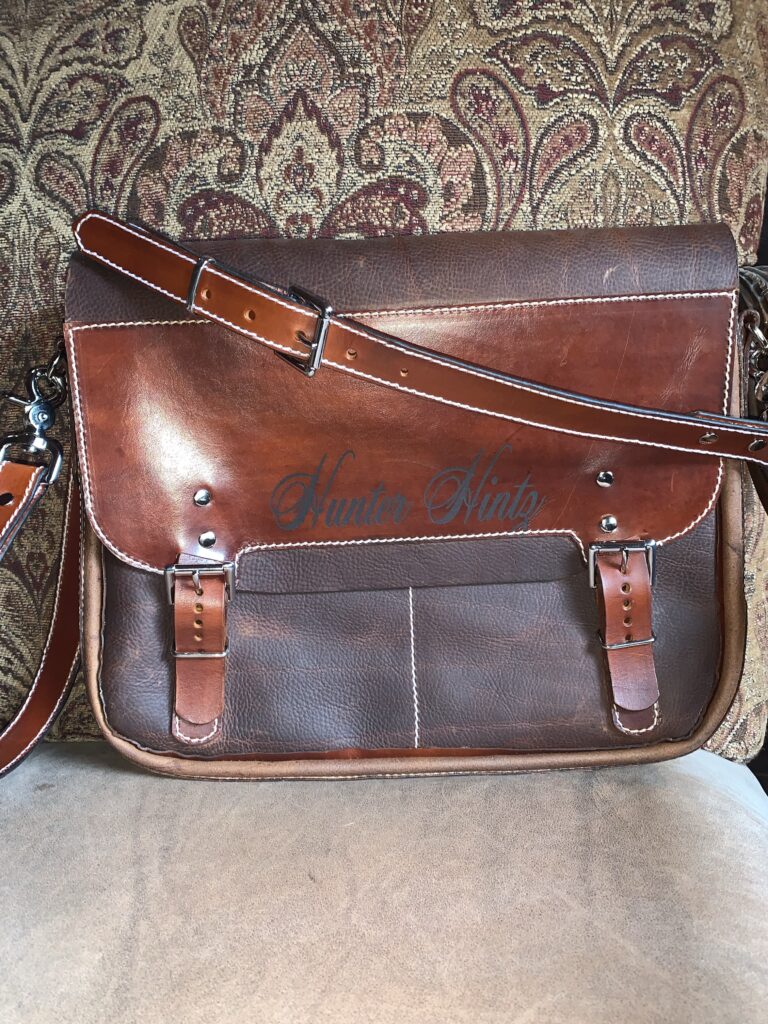
Like all things I do, I can’t do just 1. This was a fun and challenging project that went to a great cause!
